Showing posts with label Painted. Show all posts

DIY Candy Corn Flower Pot

Friday, September 27, 2013

 
Wow, can you believe that this is the last week of September?! It's really scary to think that Halloween is right around the corner... get it?! Ba-dum-ching! Ok, I'm sorry about that... MOVING ON!  :)
 
This year I've been trying to do a little front porch decorating for the occasion. I'm not a huge fan of this particular holiday, but my husband and I love passing out candy to all the munchkins so for that reason I participate. One really awesome thing that I do love about Halloween is Candy Corn. I could eat that stuff all day long. When I saw a similar Candy Corn flower pot on Pinterest by Amber at Crazy Little Projects I knew I needed to make one for myself. So I did!
 
To do this yourself you will need the following supplies:
 
- Terra Cotta flower pot
- Acrylic Paint in white, orange, & yellow
- Paintbrush (any kind will work)
 
Now for the "how to":
 
>>> Step One... mark off areas for the three paint colors. You can use a ruler & a pencil and then use tape to divide the colors or just freehand it. I used tape, because I'm a messy painter.
 
>>> Step Two... paint your flower pot!
 
>>> Step Three... oh, wait! There isn't a Step Three! You're finished! How easy and awesome was that?!
 

Now my porch is festive and looks like one of my favorite Fall junk foods. I'm a happy lady!

Hannah

Painted Birdhouse Makeover

Wednesday, May 22, 2013


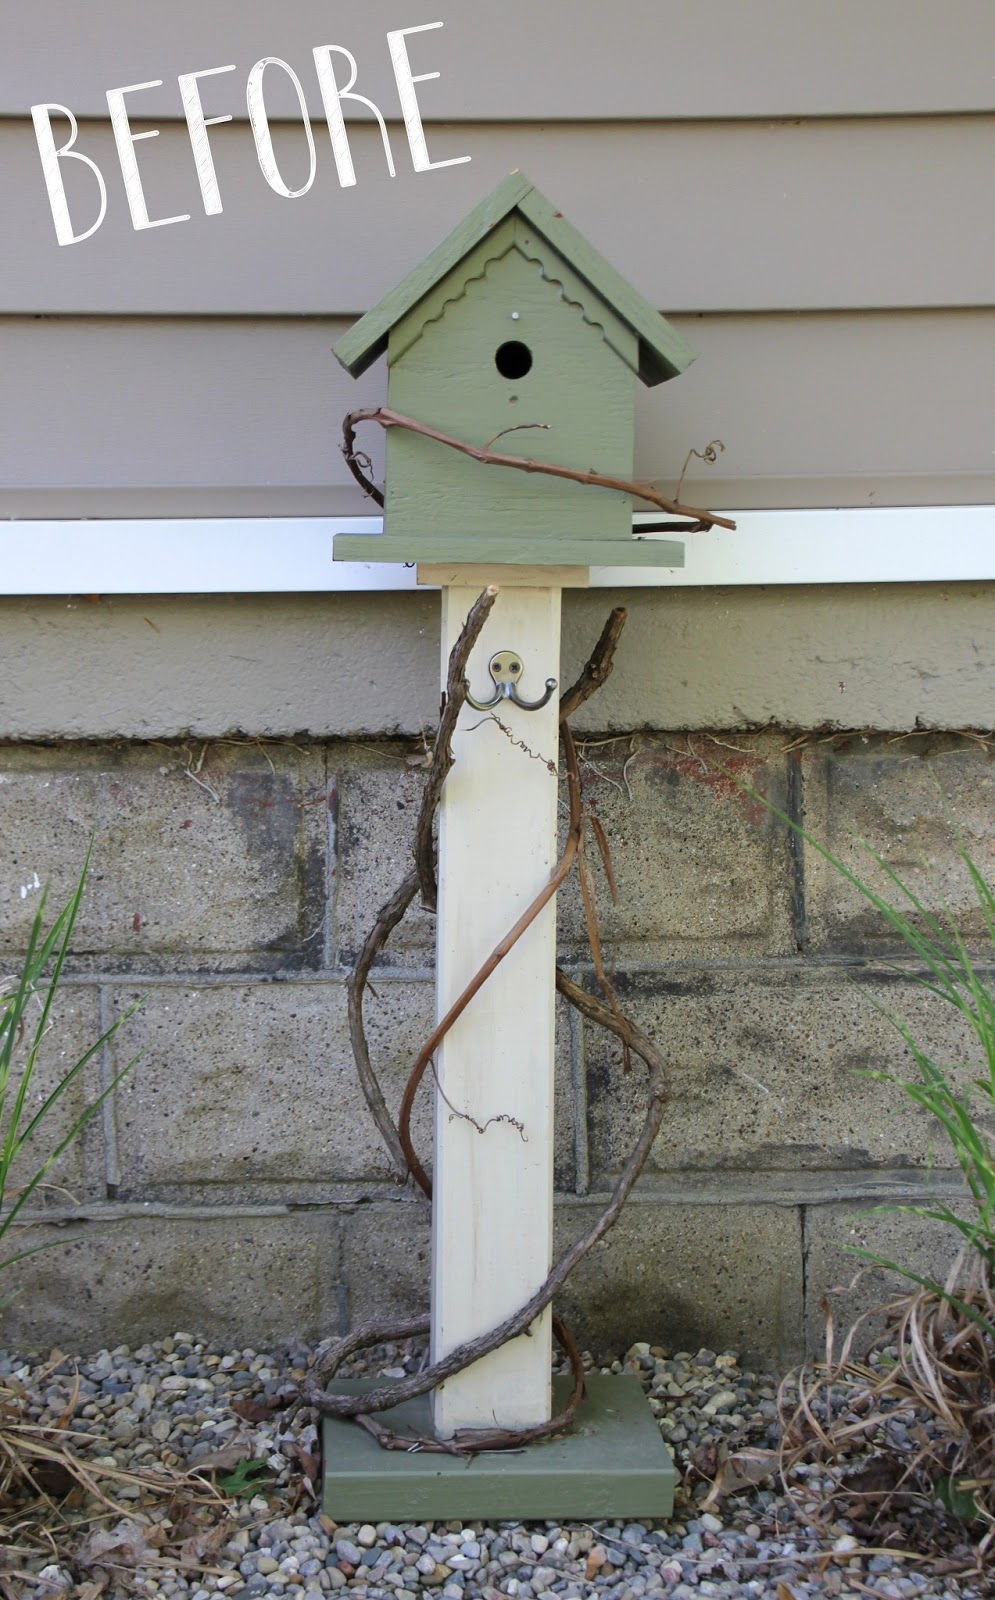
Most of the projects that I do instantly inspire me the moment I see them. I'm a visionary like that. I can literally look at a piece of junk and know how I want to make it new again right away. This birdhouse... not so much. At first I thought it was the color that I didn't like, but maybe it was the vines that were wrapped around the bottom? Regardless, for reasons I can't be sure of, it didn't grab me and beg for a makeover at first like most of my projects do. It was my mom's and when she moved it went in the yard sale pile. As a joke, my father-in-law put it out in front of my house to see if I would notice (I'm a woman, so of course I noticed). I left it there out of pure laziness, but after awhile it started to grow on me and eventually it called my name.

Those of you that subscribe to HGTV Magazine may have noticed the coupons for free Valspar paint from Lowes that have been in the last two issues. When the hubs and I picked up our free paint we chose a bright coral. When we got home from the store... bazinga! It hit me! The birdhouse would be PERFECT in that shade! And the rest is history...


Don't. You. Just. LOVE. It?! I think it's totes adorbs and it was just the color pop that I needed in front of our otherwise neutral home exterior! So thanks, father-in-law. Your attempt to be annoying turned into something I now adore!

Hannah

DIY Decorative Pumpkins

Tuesday, October 2, 2012

Well, I'm still feeling like I'm at the brink of death so that means another day of tv show reruns and more time for blogging! On Saturday I did a makeover on some artificial craft pumpkins that I have had for a couple of years. Before this weekend I used them to decorate above the cabinets in my kitchen along with an Autumn garland. I loved them, but when I spied some copper and gold colored accents at Hobby Lobby a few weeks ago I decided I needed to give my plain orange pumpkins a facelift.

So here is the inspiration. I love these. They are so Hannah. I like that they are seasonal, but chic. Totally me!


And here are the plain craft pumpkins that I wanted to re-do. I like them the way they were, but I just didn't think they went with the inspiration pieces that I am currently in love with.


I have been wanting to buy some of this cool metallic spray paint for awhile. I kind of have a think for spray paint and when you throw shiny / glittery into it.... well, let's just say I'm smitten.

So first, I gave each of them a base coat. The first pumpkin I painted gold and pretty much covered it completely. The second I painted copper, but just did a very light coat. I liked how you could still see the orange tint a little bit. I had planned to do a design on top of the copper colored pumpkin, but after it was done I liked it the way it was.


The gold colored pumpkin had a different destiny. It was definately going to have a design on it. Who wants to guess what kind of pattern I chose? That's right, you guessed it! CHEVRON! My favey!! I didn't want to get too technical. I just free-handed a zig zag pattern with painter's tape.


And when I was done here's what I got!


I think that they turned out really great! They look fabulous with my inspiration and I love how they are different, but cohesive. So that's it! Easy peasy.


DIY "Dipped" Wooden Utensils

Wednesday, May 23, 2012

By now I'm sure most of you have already caught wind of the "dipping" craze that is going around. I'm totally in love with the concept. Ever since I saw some cute paint dipped kitchen utensils on Pinterest I have been itching to try it out myself. So here goes!


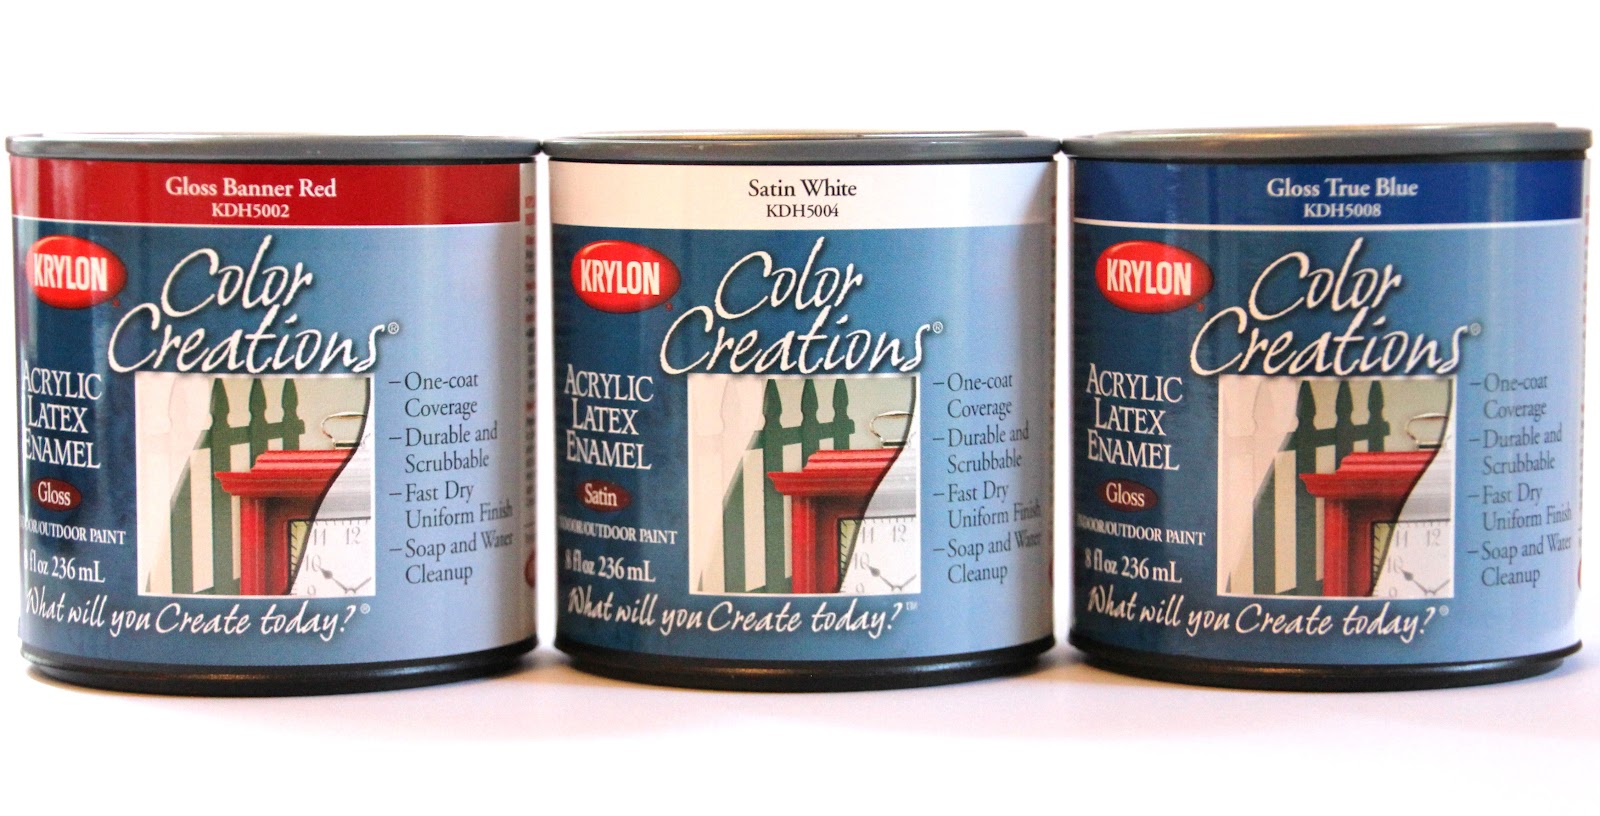
You will need paint, shellac, and some wooden utensils. I picked my paint and utensils up at Walmart and my shellac at the local hardware store.


Step 1:  Tape off a line where you want the paint to stop. I used Washi Tape, but you can use any kind of masking tape or painter's tape.


Step 2:  Open the paint cans and give the paint a good stirring. Next, pour the paint into something that you can dip the untensils into. If you have a gallon size paint can you can skip this step since it is deep enough to dip into. I just used some vases I had under my sink that I have not used in awhile.


Step 3:  This is where it gets a little tricky. I had seen around the Internet where people were brushing on their paint instead of dipping their objects into the paint. Now, I just thought "Why are they doing that? That takes away the whole 'dipping' aspect!". Well, now I know why they did it that way! Once you dip the utensils into the paint, they will drip for a long time. Obviously none of us have time to stand there and hold each utensil for an hour waiting for it to stop dripping! I couldn't figure out how to do this until "Wah-lah!"... it came to me! I pulled out my metal clothes hanger on wheels and hung the untensils out to dry with skirt hangers! This step would be much easier if you were to have a clothesline outside. Unfortunately I do not so I had to improvise. So here is my homemade contraption in action....


Yes, I am aware of how hysterical this is! I'm sure your wondering "Is she just letting that drip onto her floors?". That is where Mr. Hefty comes in!


How pretty! It could totally be like some famous artwork in New York City, couldn't it?!


Step 4:  After they stop dripping, give them a second coat of paint. Yes, I said it.


Step 5:  After they are dry (which may take a couple of hours depending on your paint) you may or may not have to sand a little bit of extra paint from the bottom of each utensil. Don't worry - I have never sanded anything in my life and I was able to do this with no problems.  :)


Step 6:   Apply a coat of food safe shellac. Warning: this stuff is very sticky! I had never worked with it before so I was caught off guard. Be glad you were told in advance!


 Step 7:  Remove the tape and admire your creations! Since it is the week of Memorial Day and I am feeling festive I chose Red, White, and Blue paint.

 NOTE: Even though the shellac is food safe, I wouldn't recommend you let your kids use these spoons as a teething toy or anything. There is still paint under the layer of shellac.

So to wrap it up I want to tell you what I learned from this project that other blogs won't tell you! First, this is a fairly easy project, but it requires a lot of patience as it takes awhile to complete. Second, make absolutely sure that everything is dry before you go on to the next step. There is nothing worse than getting 4 steps in only to have to go back to the beginning. Lastly, have fun! Don't stress about it being perfect! If you don't get it right the first time, try it again. When you finally get it the way you want it you'll feel like a superstar!

Related Posts Plugin for WordPress, Blogger...

Powered by Blogger · Designed by Pish and Posh Designs